
3D Printer Not Extruding? 7 Real Fixes That Work
Category: 3D Printing
3D printer not extruding? Don't worry — it's not you, it's probably a clog, though I won't completely rule out the possibility that it's also you. I've unclogged more nozzles than I care to count, across direct drive and Bowden setups alike, and about 90% of "my printer just won't extrude" reports actually boil down to one of four distinct problems that everyone lumps together under the single word "clogged."
Treating all four the same way is why so many people spend an hour re-leveling a bed that was never the issue — and it's also why generic "how to unclog a 3D printer nozzle" guides don't help as much as they should. Let's sort out which one you actually have first.
Start Here: What's Actually Happening?
Match your symptom to the right section — this alone saves more time than any single fix below.
| What you're seeing | What it usually means | Go to |
| Nothing comes out, not even at the very first line | Full clog, or nozzle too far from bed | No Filament At All |
| Grinding, clicking, or a repetitive skipping sound | Extruder gear stripping the filament | Grinding or Clicking Sounds |
| Thin, wispy, or gappy lines that look "starved" | Partial clog or genuine under-extrusion | Thin or Inconsistent Lines |
| Print was fine, then flow dropped off mid-way | Heat creep or a clog building up over time | Extrusion Stops Mid-Print |
No Filament At All
A 3D printer clogged nozzle is the single most common cause of this symptom. Here's how to confirm it and fix it:
- Check the nozzle isn't too close to the bed — if it's jammed flush against the plate, molten plastic has nowhere to go. Back off the Z-offset slightly and try again.
- Confirm the nozzle actually reached temperature before the print started. A cold nozzle won't extrude no matter how hard the gear tries.
- Manually feed filament through the cold end while the hotend is heated — if it won't budge at all, you have a full clog and need a cold pull (below).
- Check that filament is actually loaded past the extruder gear and not just sitting in the guide tube looking like it's loaded.
Grinding or Clicking Sounds
This is the extruder gear literally chewing a groove into your filament instead of pushing it forward — the printer equivalent of gritting its teeth. It means the gear is meeting resistance somewhere downstream, usually a partial or full clog.
- Release the extruder tension lever and pull the filament back out. Look for a chewed, flattened, or shaved section — that confirms the gear was struggling.
- Trim the damaged section off with a clean diagonal cut before reloading.
- If it strips again immediately after reloading, the resistance is downstream — move on to a cold pull.
- If it only happens occasionally, check your extruder tension isn't cranked too tight, which can shave even filament that's moving freely.
Thin or Inconsistent Lines
This one's sneakier because it looks like a filament or settings problem rather than a mechanical one.
- Check your E-steps calibration — an incorrect steps-per-mm value means the extruder thinks it's pushing more filament than it actually is. This is the single most-skipped fix in every other guide on this topic.
- Verify your slicer's flow rate is at 100% (or your calibrated value) and hasn't been left at some experimental setting from a previous print.
- Inspect the nozzle opening for partial buildup — a 0.4mm nozzle with even a small amount of carbonized filament inside effectively becomes a 0.2mm nozzle, and flow drops accordingly.
- Rule out a worn extruder gear — the teeth do wear down over hundreds of hours and lose grip, especially on abrasive or glow-in-the-dark filaments.
Most of the time it's E-steps, not sabotage.
Extrusion Stops Mid-Print
Started fine, then gradually or suddenly stopped delivering filament partway through — this is almost always heat creep or a clog that was building the whole time and finally won.
- Heat creep — exactly what it sounds like, warmth sneaking up the hotend somewhere it wasn't invited — happens when filament softens too far above the melt zone and swells until it jams in the cooler section. More common on long prints, in warm rooms, or with inadequate hotend cooling fan airflow.
- Check your hotend's cooling fan is actually spinning and unobstructed — this one gets overlooked constantly because it runs quietly in the background.
- Partial clogs from filament that's absorbed moisture (PETG and ABS especially) tend to show up exactly like this: fine for a while, then a slow decline as trapped moisture boils and disrupts flow.
- If it happens at a consistent point in every print, check for a specific retraction or travel move at that point — excessive retraction distance can pull filament back far enough to cool and jam on re-extrude.
Cold Pull vs. Atomic Pull: What's the Difference?
A cold pull is the standard 3D printer fix everyone name-drops for a clog, but almost nobody explains it properly, and even fewer distinguish it from an atomic pull — which is the stronger version you actually want for a real clog. Nothing nuclear involved despite the name, just a firmer tug and a little more patience.
Cold pull (basic version):
- Heat the nozzle to your filament's normal printing temperature.
- Manually feed a short length of filament through until it extrudes cleanly.
- Let the nozzle cool to about 90–100C for PLA, or 100–120C for PETG/ABS — cool enough that the filament firms up but hasn't fully solidified.
- Pull the filament straight out firmly and steadily. Debris trapped in the nozzle often comes out with it.
Atomic pull (for a real clog the basic version didn't fix):
- Heat to printing temperature and manually extrude to purge as much as possible.
- Insert fresh filament and push it through under light pressure while the nozzle cools toward the same 90–120C range as above (material-dependent, same as cold pull).
- As it cools, keep steady light pressure — you're forming a solid plug that binds to whatever debris is stuck in the nozzle channel.
- Once cool, pull sharply and quickly rather than slowly. You should see a clean tip with debris attached, sometimes literally shaped like the inside of your nozzle.
If a cold pull doesn't clear it, the atomic pull almost always does. If neither works after two or three attempts, the nozzle itself may be damaged or permanently clogged — a $3 replacement nozzle is a completely reasonable thing to reach for at that point instead of fighting it further.
Direct Drive vs. Bowden: Why It Changes the Fix
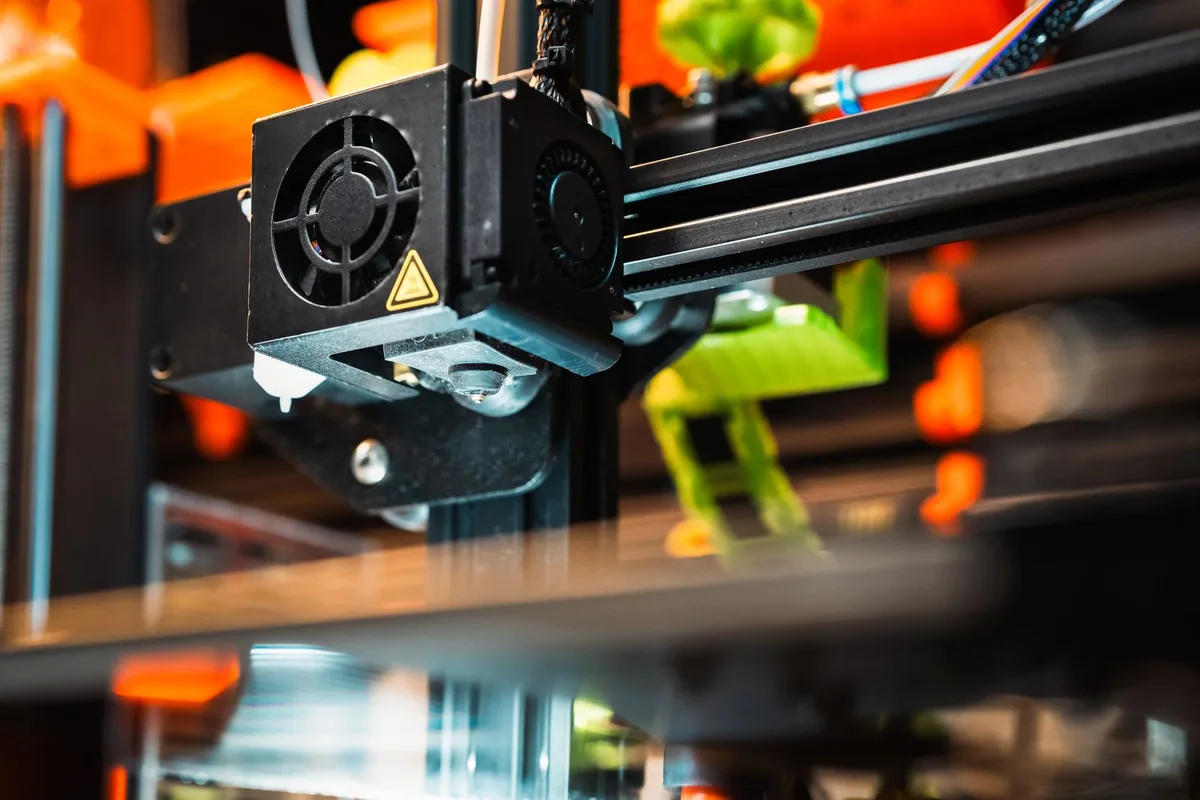
This distinction gets skipped in almost every other guide, and it matters. On a direct drive setup (Ender 3 V3 SE, Bambu Lab printers, most modern budget machines), the extruder gear sits right on top of the hotend — short filament path, more responsive retraction, but the gear itself is more exposed to heat, so grinding issues are usually gear-tension or filament-quality related. On a Bowden setup (older Ender 3, Ender 3 Pro, many CoreXY kits), the gear is mounted on the frame and filament travels through a PTFE tube to reach the hotend — think of it as filament's daily commute, and the longer and more twisted the route, the more places it can go wrong along the way.
Practical difference: if you're chasing a grinding issue on a Bowden printer, check the PTFE tube for kinks or a worn end before you touch the extruder tension. On direct drive, go straight to tension and gear wear — there's no tube-friction culprit to rule out first.
E-Steps and Nozzle Size: The Two Things Everyone Skips
E-steps calibration tells your printer exactly how much filament to push per command. If it's off — common after a firmware update, extruder gear swap, or just a factory default that was never quite right for your specific hardware — you'll get inconsistent extrusion that looks exactly like a partial clog but isn't. A quick calibration (mark filament 120mm from the extruder entry, command it to extrude 100mm, measure what's left) takes five minutes and rules this out completely — five minutes now beats another hour blaming your bed level for a problem it never had.
Nozzle size matters more than people think. A worn or partially clogged 0.4mm nozzle effectively shrinks, and flow rate calculations in your slicer assume the nozzle diameter you told it — if reality doesn't match, you'll see under-extrusion that no amount of retuning retraction will fix. If a nozzle's been through a lot of abrasive or glow filament, consider that it may simply be worn out rather than clogged.
Preventing This From Happening Again
- Store filament sealed with desiccant, especially PETG and ABS — moisture-related clogs are among the most common and the most preventable
- Do a quick cold pull whenever you swap filament types, not just when something's already gone wrong
- Keep your hotend cooling fan clean and unobstructed
- Recalibrate E-steps after any extruder hardware change
- Replace nozzles proactively after heavy use with abrasive filaments rather than waiting for a failure mid-print
Follow these and the next "my printer stopped extruding" post you read will be about someone else's printer, not yours.
FAQ
Why is my 3D printer not extruding at the start of a print?
Usually one of: the nozzle wasn't fully up to temperature, the nozzle is too close to the bed, or filament wasn't actually loaded past the extruder gear. Check all three before assuming it's a clog.
How do I know if I need a cold pull or just a nozzle cleaning needle?
If filament won't feed through manually at all when hot, that's a full clog — go straight to a cold pull. A cleaning needle is more useful for surface debris around the nozzle opening than for anything actually lodged inside.
Can under-extrusion happen without any clog at all?
Yes — this is the most commonly missed case. Incorrect E-steps calibration, a flow rate left at the wrong percentage, or a worn extruder gear can all cause exactly the same symptoms as a partial clog with zero actual blockage involved.
How often should I replace my 3D printer nozzle?
For standard brass nozzles printing mostly PLA and PETG, every few hundred print hours is reasonable. Abrasive filaments (carbon fiber, glow-in-the-dark, glitter) wear nozzles out much faster — sometimes within a single large print.
What is 3D printer under-extrusion exactly?
It's when less filament comes out than the slicer intended, leaving gaps, thin walls, or weak layer bonding. It can come from a clog, but just as often it's E-steps calibration, a low flow rate setting, or a worn extruder gear — no blockage required.
What is an atomic pull on a 3D printer?
A stronger version of a cold pull, used when a basic cold pull doesn't clear a clog. You purge fresh filament through while the nozzle cools, let it form a solid plug around whatever's stuck, then pull sharply. See the full walkthrough above.
Why did my 3D printer stop extruding mid-print?
Almost always heat creep, a slow-building clog, or moisture-affected filament that was fine at first and degraded as the print continued. Check hotend cooling fan airflow first — it's the most commonly overlooked cause.
Amazon Affiliate Picks
- Replacement Brass Nozzles 0.4mm (Multi-Pack)
- Hardened Steel Nozzle for Abrasive Filament
- Nozzle Cleaning Kit with Needles
- Filament Dry Box with Desiccant
If leveling or first-layer issues are part of what's going on, our Ender 3 V3 SE bed leveling guide covers that separately, and our PLA vs PETG vs ABS filament guide has the moisture and temperature numbers referenced above. Browse our 3D printers hub if a worn-out machine has you shopping for a replacement instead.
Top 3D Printers to Consider

Bambu Lab A1 Mini 3D Printer
The Bambu Lab A1 Mini is the best beginner 3D printer available today. It self-calibrates, auto-leve…

Elegoo Neptune 4 Pro 3D Printer
The Elegoo Neptune 4 Pro delivers Bambu-level speed and ease of use at nearly half the price. Auto l…

Creality Ender 3 V3 SE 3D Printer
The Creality Ender 3 V3 SE is the most popular entry-level 3D printer in the world. Auto-leveling, a…

Prusa MK4 3D Printer
The Prusa MK4 is the most reliable and thoroughly engineered FDM 3D printer available. It self-calib…